
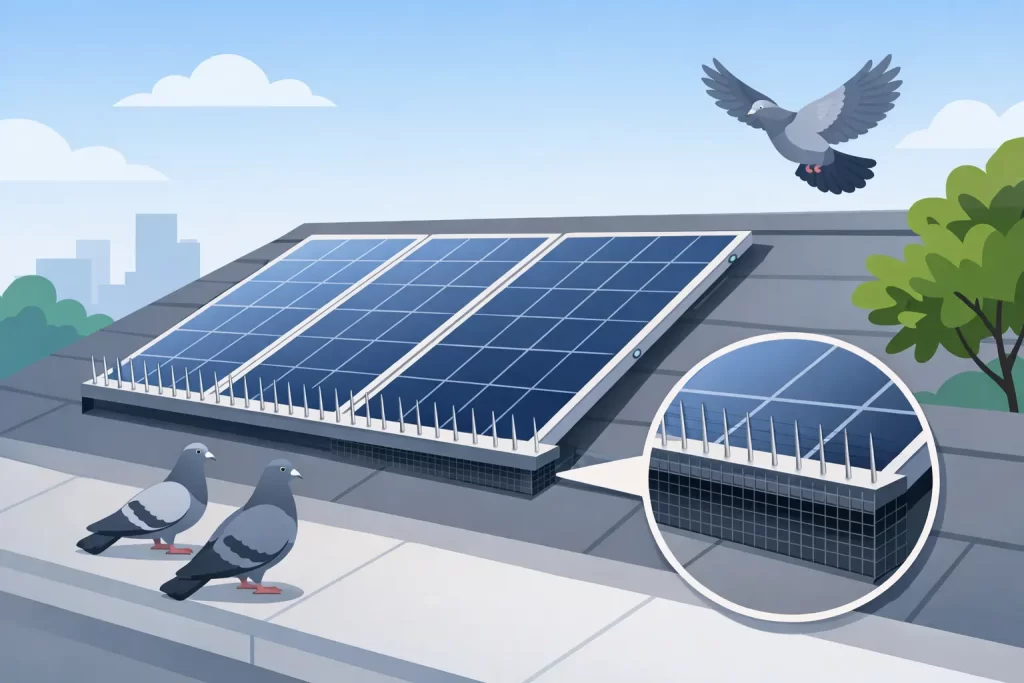
Pigeons do not simply sit on solar panels. Once they find the sheltered void beneath an array, they nest, breed and leave a build-up of droppings, feathers and nesting material that can quickly turn into a roof-level hygiene and performance problem. Knowing how to pigeon proof panels properly means protecting the entire solar installation, not just blocking the birds from view.
Cheap mesh, loose cable ties and rushed work can damage panel frames, trap debris or leave gaps large enough for birds to return. The right approach uses purpose-made materials, secure non-penetrative fixings and a thorough clean before the protection is fitted.
Why pigeons under solar panels are a serious issue
Solar panels create a warm, dry and sheltered space that pigeons favour, particularly on south-facing roofs. A pair of birds can become a regular nesting colony surprisingly quickly. What starts as a few feathers on the roof can become compacted nesting material around cables, mounting rails and guttering.
The obvious concern is mess. Pigeon droppings can stain roofs, block gutters and create unpleasant odours, especially during warm weather. They can also carry bacteria and parasites, so this is not a job to approach casually with a household brush and a garden hose.
There is a performance issue too. Birds perch on the top edge of panels and foul the glass. Even partial shading from droppings can reduce generation, because solar cells within a panel are electrically connected. Heavy contamination around the lower edges can also prevent rainwater from washing the surface clean.
Under the array, nesting material can retain moisture against roof tiles and interfere with drainage paths. In some cases, birds or rodents may damage exposed cabling. Solar equipment should never be treated as an ordinary roof feature. Any work around panels needs to account for electrical components, roof integrity and the manufacturer’s installation requirements.
How to pigeon proof panels properly
Effective pigeon proofing is a process rather than a roll of mesh fitted around the visible perimeter. The aim is to exclude birds without drilling into the panels, compromising the roof or creating a future maintenance problem.
Start with a full inspection
Before fitting anything, inspect the panels, mounting system, tiles, gutters and cabling. Look for broken tiles, lifted flashing, loose panel clamps, damaged cables and signs that nesting materials have collected beneath the array. If there is a fault with the solar system or evidence of poor previous workmanship, it should be dealt with before mesh is installed.
This inspection also establishes the correct mesh depth and the fixing layout. Solar arrays sit at different heights above the roof, and the gap is rarely uniform. A one-size-fits-all installation is often where poor pigeon proofing begins.
Remove nests and contamination safely
Mesh should not be fitted over an active nest, existing debris or trapped birds. The area beneath and around the panels needs clearing first, with care taken to avoid disturbing cables or roof tiles. If active nests, eggs or chicks are present, legal and welfare considerations apply. Timing and method matter, so professional advice is sensible before any removal work is attempted.
Cleaning the panel faces is equally worthwhile at this stage. It is much easier to assess the condition of the array once droppings and grime have been professionally removed. Abrasive tools, harsh chemicals and high-pressure washing are not appropriate for solar panels. They can damage glass coatings, seals or roof components.
Use purpose-made solar panel mesh
The correct product is a durable, UV-resistant mesh designed specifically for solar arrays. It should be strong enough to resist pecking and weather exposure, while allowing airflow beneath the panels. Good ventilation is essential: solar panels naturally run hotter in direct sunlight, and blocked airflow can contribute to reduced efficiency.
The mesh must cover every possible access point around the array, including corners, changes in roof level and awkward spaces around conduit or brackets. Pigeons are persistent. A small unfinished gap is often enough for them to get back underneath.
Avoid lightweight chicken wire, plastic garden netting and improvised materials. They can degrade in sunlight, look untidy, snag debris and fail under wind loading. Worse still, poorly secured mesh can rub against cables or panel frames over time.
Secure the mesh with panel-safe clips
Professional pigeon proofing should normally use purpose-made clips that attach to the solar panel frame without drilling holes. Drilling into the frame can invalidate product warranties, create corrosion points and compromise the panel’s structure. Screws into roof tiles are also a poor shortcut, as they can crack tiles or create routes for water ingress.
Clips should be spaced correctly to keep the mesh firm but not under excessive tension. The mesh must sit neatly against the panel frame and roof profile, with no sharp cut ends exposed. A tidy installation is not just cosmetic. Loose sections can rattle in the wind, trap leaves and eventually pull away.
What not to do when pigeon proofing solar panels
The cheapest quote is often based on the fastest possible installation. That may mean mesh fitted without cleaning, unsuitable cable ties, insufficient clips or no inspection of the system beneath. It can look acceptable from the ground while leaving a weak point at every corner.
Do not stand directly on solar panels, lean ladders against their glass or lift panels without understanding the mounting system. Panels are not designed to take a person’s weight. Roof work also brings obvious fall risks, particularly where pigeon droppings have made tiles slippery.
It is also unwise to use bird spikes on the panel surface or around the underside of the array. Spikes may deter perching in a limited area, but they do not seal the nesting void. They can collect debris and make future cleaning more difficult.
Finally, do not assume pigeon proofing alone will fix a system that is already underperforming. If your generation has dropped, the cause could include soiling, shading, inverter issues, failed optimisers, damaged wiring or voltage problems. The bird activity may be one part of the picture, but a proper diagnosis avoids spending money on the wrong remedy.
When should pigeon proofing be fitted?
The best time is before pigeons establish a nesting habit. If birds are repeatedly walking along the panel edges, gathering on the roof or leaving droppings below the array, act early. Waiting until nesting material is hanging from the panels or gutters are overflowing makes the job dirtier, more complex and potentially more expensive.
Pigeon proofing is also sensible after a new solar installation, particularly where nearby roofs already have bird activity. It can be fitted as a preventative measure, avoiding future cleaning and remedial work. The decision depends on the local environment. Homes near town centres, food outlets, railway lines, farms or large roosting sites often face a higher risk.
For an existing array, combine pigeon proofing with a condition check and professional clean where required. This gives the installation a clean starting point and helps identify any damage that has been hidden beneath debris.
How long does solar panel pigeon proofing last?
A properly installed system using quality mesh and stainless or purpose-made coated clips should provide long-term protection. Its lifespan depends on material quality, local weather exposure, roof movement and how securely it was fitted in the first place.
The mesh should still be visually checked as part of normal solar maintenance. From the ground, look for sagging, detached corners, accumulated leaves or birds attempting to access the underside. There is no need to interfere with the mesh yourself unless there is an obvious fault. Unnecessary pulling and prodding can loosen clips or disturb panel wiring.
Choose a specialist, not a general handyman
Pigeon proofing sits at the point where roofing, electrical awareness and solar-system knowledge meet. A contractor needs to work safely at height, understand how panels are mounted and know which fixings will not compromise the installation.
Safer Solar UK approaches pigeon proofing as protective maintenance, not a quick cosmetic add-on. The work should leave your panels accessible for future servicing, your roof free from unnecessary penetrations and your array properly sealed against returning birds.
If pigeons have made a home beneath your panels, do not wait for the next blocked gutter, damaged tile or unexplained drop in generation. A clean, correctly fitted mesh barrier gives your solar system the clear, ventilated space it needs to keep doing its job.